
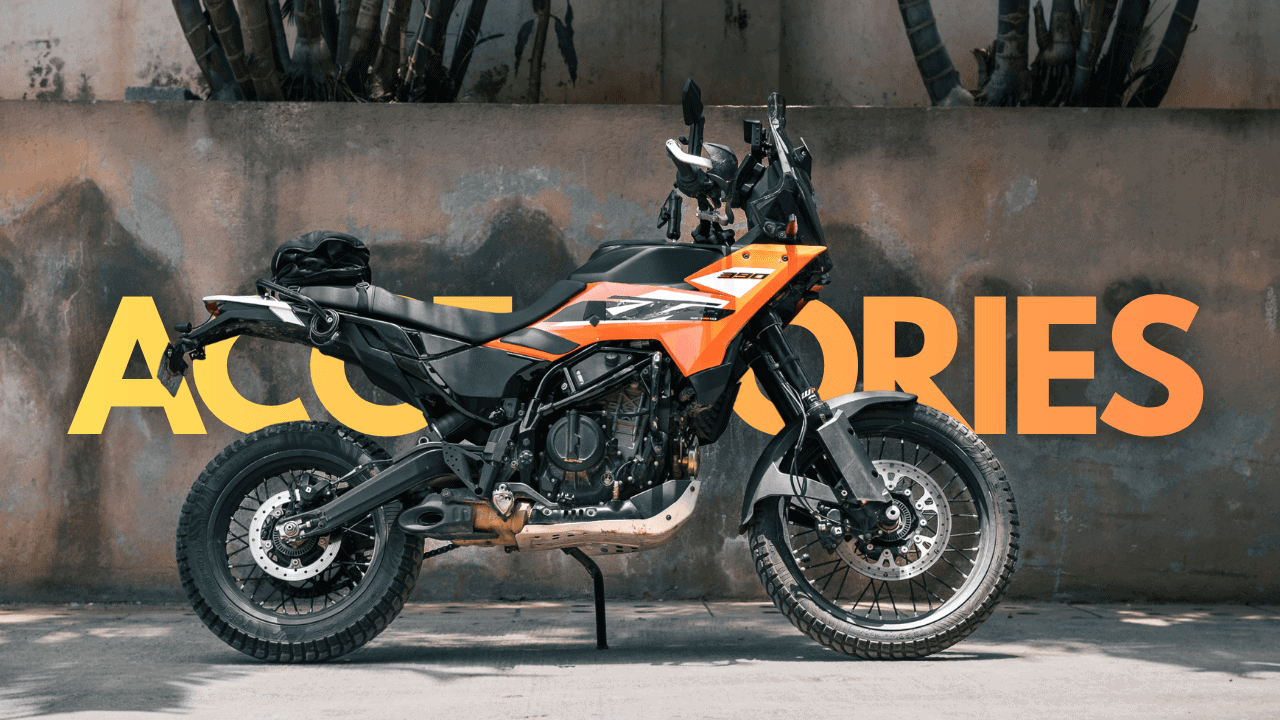
Ever since the new 2025 KTM 390 Adventure was launched, it’s been a rat race by manufacturers and content creators alike to load up the machine with unnecessary accessories. Most of them even defeats the very purpose of what the bike is designed for.
So after testing out a few accessories for over 12k km, here are the ones that I think are useful on the 2025 KTM 390/350 Adventure. I’ll share the thought process behind each and every one of them, how they perform in real world scenarios and maybe some pros and cons along the way.
None of the KTM 390 Adventure accessories I’m going to mention are sponsored. All the products I’m going to mention have been bought with my own money and tested for more than 12k kms over a period of 1 year and 1 month.
List of 2025 KTM 390 Adventure Accessories
1. Motovibe India GPS holder for 2025 KTM 390 Adventure

Motovibe’s GPS mount or mobile phone holder is a 3D printed plastic base with a RAM ball mount that perfectly fits onto the slot on the bike. It’s specifically made for the 2025 KTM 390 Adventure and hence it slides into the slot and fits perfectly.
The build quality is solid. I have done a lot of jumps on the bike and even suffered a gnarly accident that broke almost half the bike, but the holder has held strong. It’s sleek and sits aesthetically well in line.
The only issue is that during hard jumps, the holder tends to come loose but you can always reach out and tighten it after adjusting the unit or your phone holder. The holder has a slight free play too so make sure you leave enough space between the console and the holder for free movement while riding off road.
I have used Revcraft’s holder too but it’s ball head is a separate unit and tends to come loose overtime and starts shaking. Hence I switched to Motovibe’s holder and it has no issues at all. I’m super happy with it and highly recommend it. It’s around 1500 INR. Link – Motovibe India GPS holder for KTM 390 Adventure 2025
2. Aoocci C5 Pro
Aoocci C5 Pro carplay device is fantastic. It makes life on the bike a lot easier than using a phone for navigation. I’ve made a separate blog about it as it deserves a spotlight of its own.

3. Side Stand Extender
I’ve had side stand extenders on all my bikes as they prevent the bike from sinking on sand or slush. I’ve used the one from Revcraft for a long time but it’s screws tend to come loose and rattle overtime even with locktite so I switched to the one from Viaterra.
Unfortunately, the screws on that also came lose and fell off somewhere. Side stand extenders are an absolute necessity for anyone going off road. I’m on the search for a good one and if you have any suggestions that’s sturdy enough, please post them in the comments below.
4. Double Adventure Mirrors

Even though the stock mirror is absolutely brilliant, it sits a bit lower and outwards than the handlebar. It’s the first point of impact during a fall and tends to break very often. So I got the double adventure mirrors from sparify. It’s a knock off of the double take adventure mirror which costs around 16k. This one is 2k INR a pair.
It pivots at 2 points and it’s completely foldable when going off road. I have set it at a height comfortable for me and inside the level of the handlebar. It has the same field of view as the stock and is a lot lighter than the stock. The only downside to these are the buzz. It vibrates a lot more than the stock at highway speeds but I don’t mind that compared to the adjustability it gives.
I’ve also stuck a generic blind spot mirror on this which is very helpful in highways where you might miss bikes or cars coming at a fast pace to over take you while changing lanes. Link – Double Adventure Mirrors, Blind Spot Mirror.
5. Barkbusters Hand Guards Frame with Acerbis X Factory Hand Guards
The stock hand guards are useless and I used to use my favourite Acerbis copy hand guards that I have used on my previous bike. It works great for the price and I still recommend it for 90% of the users. It’s a use and throw product.

But with this bike, I’ve started to push myself further in off road trails and dirt track and as a result of which I’ve been falling very often. I ended up changing 4-5 pairs of those hand guards to a point where I decided I need to get something more sturdy for my use case scenario.
And hence I got these handguard frame for the Himalayan 450 from barkbusters (as the bike specific one wasn’t launched yet at that time) and the Acerbis X Factory hand guards as suggested by a fellow adventure owner. And this thing is damn durable. I have suffered lot of falls in dirt track and trails and it hasn’t budged even a bit.
The acerbis plastic handguard is compatible only if you have a handle bar riser installed and the frame isn’t compatible with the stock bar end weights. But the frame and spacers add enough weight that it performs same as with the bar end weights. The vibes don’t go up without the bar end weights when you have the hand guards with the spacers installed.
The frame costs around 9000 INR and the hand guard costs around 2500 a pair. The Acerbis hand guards looks better than the Barkbuster VPS ones and are half the price. This combo is worth the investment and I highly recommend to anyone who rides off road more often. Link – Barkbusters Hand Guard Frame, Acerbis X Factory Hand Guards
6. Duke 390 Leg Guard

The stock crash guard is great. It offers great protection and comes with a good slider to take on the impact. But I’ve felt it a bit unnecessary. The international variant doesn’t even come with a crash guard. And why do you need so much metal to protect plastic?
So to reduce weight and for better looks, I installed the crash guards from gen 3 Duke 390 since it’s a direct fit. IMO this is more than enough in case of fall to protect critical components.
I’ve had quite few falls in off road and these guards have taken good beating and yet retain its shape and function to a great extent. These costs only 1500 a pair and is the best alternative to the heavier and buzzier stock crash guards. Link – Duke 390 Leg Guard.
7. PPF on 2025 KTM 390 Adventure
When I bought the bike, spare parts for the Adventure X wasn’t available so I had to get black PPF done over the white parts for aesthetics. It actually costs a hell lot more than the black panels from the X which I will get next if PPF ever comes off.

Over a period of time the PPF has taken significant damage and has started to come off because of multiple falls during track practices. So once everything comes off, I’m planning to get the black panels from the adventure X which costs around 2500 INR instead of spending 12k again to get PPF done.
I got the visor tinted too which looks nice to me.
8. Helmet Lock

A generic helmet lock to secure the helmet to the bike. Link – Helmet Lock
9. Mototrendz Fork Seal Cover
I use fork seal cover from Moto trends. These are quite cheap and does the job well to protect the USD forks from muck and grime. Expensive ones like the ones from Kriega look better but these provide the same function as them. 650 INR.

These aren’t install and forget accessories. After every off road ride, you’ll have to remove and wash them, dry them and put it back or else the muck that’s caught by these fork seals can itself prove detrimental once it dries and hardens. Link – Mototrendz Fork Seal Cover.
10. Auto Engina Grab Rail

The stock grab rail is too wide, heavy and does not close at the rear. Hence I got these from Autoengina. It’s sleek, weighs lighter than the stock and has a closed loop which helps in hooking up the rackless saddle bag from dirtsack.
The only issue is that the paint comes off after a while when you have a helmet lock on the grab rail. Link – Auto Engina Grab Rail.
11. Rideflex Foldable Brake Lever
Rideflex bendable brake lever well complements the stock foldable gear lever. If you’re a follower of this blog you’ll be knowing that I’m a long time user of Easy Brake from ProSpec on my bikes but during one of the dirt track practice sessions, it broke off. So I got this and it’s very sturdy and useful. It costs around 2.5k INR.

There are two minor issues that I have noticed with this. First is that the pointy screws can get uncomfortable if you ride with shoes that has very thin soles. With riding boots, you’ll not have that issue. Secondly this lever and the spring tends to get stuck very often especially with mud so be careful to clean it regularly and lube it with WD40. Link – Rideflex Foldable Brake Lever.
12. Touring Seat by KTM 390 Adventure Accessories

The stock seat is good enough for most of the use case scenario. But I have heard that for heavier riders, stock seat can get uncomfortable. I didn’t have any issues with the stock seat even during long rides. But I tried the touring seat from KTM on another bike and I felt it a bit more comfortable than the stock so I got it.
It’s slightly heavier, firmer, denser, wider and taller seat than the stock. It’s an added luxury I’d say as the stock seat isn’t bad at all. I weigh 62kgs so stock seat didn’t give me any issues. The touring seat is slightly better than the stock and I’d suggest you to try this only if you feel the stock isn’t adequate enough for your use. It costs around 2900 INR. Link – Touring Seat.
13. Heel Guard
I don’t ride with pillion and hence i removed the pillion foot rest which saves more than a kg of weight and installed these heel guards from KTM itself. Remember, lighter the bike, better it performs in all aspects.

14. Skydd Tail Tidy

Again, to reduce the weight further, I got rid of the bulky tail end and installed this tail tidy from Skydd. It looks sleek and does the job well. It costs around 1k INR. Link – Skydd Tail Tidy.
15. HJG Bullet Indicators
The stock indicators used to break very frequently especially when it’s parked in tight spots. Somebody brushes against your bike and the first thing that breaks is your indicator. And each time it costs 1000 INR to replace it. So I got these bullet indicators from HJG. It’s bright enough and is sleek enough as to not break easily. It costs around 500 INR.

The only issue is that you’ll need to cut the indicator wire to install it and since the impedance is different from the stock indicator, the console will show a warning and the indicators on the console will blink at a faster rate. But the indicators work just fine. Link – Bullet Indicators.
16. Zedling Rally Suspension

The stock suspension sucks IMO for my use case scenario and so I got the Zedling Rally suspension installed. I’ll talk more about this in the upcoming review blog of the bike and a separate blog on the Zedling Rally because this too deserves a spotlight of its own. Link – Zedling Rally Suspension.
17. Side Stand From KTM 390 Adventure R Accessories
Once I installed the Zedling rally suspension which has 250mm of travel, the seat height as gone up by half an inch and it sits close to 845mm now. Hence the bike used to lean more on it’s side stand. To tackle this, I have installed the side stand from Adventure R version which is longer than the S.
The only issue was that the stand used to touch the swing arm since the geometry of some things related to the chassis in R is different from S variant. So I got a stopper welded onto the stand which solved the issue.
18. Enduro R Rear Sprocket and Chain
Forget fuelx and air filter and all that stuff. I think the best performance mod you can get for your Adventure S or X is the rear 48 teeth sprocket from the Enduro R along with the chain which has 6 links more than the S. Paired with the off road throttle respond in the off road riding mode, it’s a mad and addictive improvement in the initial acceleration.

Regarding all the other performance mods like fuelx and air filter and all that, I’ve made separate blogs. Long story short, it’s not worth spending that much money for some mere marginal and mostly placebo gains. I’ll not be doing any of that to my KTM.
It improves the initial acceleration and the bike becomes quicker by revving faster. It’s a lot of fun. It costs around 3k for chain and sprocket and I think it’s totally worth it. Yes top speed may reduce but who sits at 160 kph on the highway all day? I still cruise around 140kph with this sprocket and it does the job fine. And on dirt, it’s mad fun.
19. Console Screen Guard

I’ve put a generic screen guard on the console which has already developed a scratch. It’s not a necessity but it’s good to have as an additional layer of protection for the rather expensive console. It’s a generic one for the gen3 duke 390 which has the same screen dimensions. Link – Duke 390 Screen Protector.
20. RideTek Tank Grips
The rubber tank grips from Ridetek are amazing. I have stuck the bigger patches on the area where my knee and leg comes in contact while riding and a small patch on the area where my knee comes in contact while sitting and riding. They provide adequate grip when hugging the frame while riding off road.

They have a large patch that comes on the side decal but I haven’t stuck it as it covers half of the KTM logo and I need more grip while standing than sitting. You can cut the pads if you want to shape it whichever you want it and once it sticks, it’s never coming off. Link – Ridetek Tank Grips.
21. Lower Fender – KTM 390 Adventure Accessories

The high front fender is catching a lot of wind during hard accelerations and creating so much drag that the front starts to feel light especially when fuel in the tank is also low. So I got the low fender from KTM and got rid of the high fender. Mind you this drag is noticeable only when you whack open the throttle on an empty stretch of road and doesn’t make any difference in city commutes or off road rides.
I’m sure the low fender will give some trouble during monsoons and slushy conditions with the mud getting stuck between the fender and tyre but I’m willing to live with it as personally the bike looks damn sexy like a T7 or a Transalp without the high fender.
22. Reise TrailR Tires
Reise TrailR is the only tyre I’ve come across in Indian market that offers the best grip off road while being legal and decent enough to ride it on tarmac. I’ve made a detailed blog about these tires.

Now they don’t have a tubeless 21inch tyre as of now but I’m running the tube type tyre without the tube on this tubeless rim. Granted theoretically the tube type tyres will have weaker sidewalls but I haven’t had any issues with air leakage and the tyre slipping out of the bead and all that.
I even ran the tyre close to 22psi in an off road race and still didn’t run into any issues. So as long as you run adequate tyre pressures, you’re good to use the tube type tyre without tube on the tubeless rim. Link – Reise TrailR
Here’s a video of all the accesoories that you need to avoid on your KTM 390 Adventure

- 2025 KTM 390 Adventure S – 13000 km Long Term Review
- All you need 2025 KTM 390 Adventure Accessories
- Aoocci C5 Pro – The Best CarPlay/Auto Device For Your Motorcycle
- Cramster K2K Gloves – The Best Budget Gloves For Touring
- Best Budget Boots For Touring – Gadsyll Tourer Boots Review
- Axor X Cross – Best Budget Helmet For Touring
- How to record your helmet intercom conversations
- Vnetphone V6 – A bang for your buck intercom!
- Easy Clutch Review – Make Your Himalayan Feel Like A Honda!
- Mototorque Crash Guard for Triumph Scrambler 400X & Himalayan
Could you tell me about how the HJG bullet indicator lights are fairing now? Is it good quality?
Details are in the review blog